
We’ve all been there. You’re looking at a trail map, tracing your finger along a winding path to a gorgeous ridge line, and instead of excitement, you feel a quiet, nagging spark of anxiety. Is my lower back going to punish me for this tomorrow?
Hiking with lower back pain can feel like placing a high-stakes bet. You want the fresh air, the canopy of trees, and the mental reset that only the woods can provide. But the fear of a sudden, blinding spasm halfway up a hill (or a three-day couch sentence afterward) is enough to make you pack away your boots for good.
Here’s the good news… you don’t have to hand over your trail pass just yet.
In fact, movement is one of the best ways to soothe a grumpy spine. Walking increases blood flow, lubricates stiff spinal joints, and strengthens the supporting muscles around your pelvis. The trick isn’t avoiding the trail; it’s learning how to hike it differently.
If you already know that camping with a bad back needs a bit more planning, hiking is much the same. The ground is less predictable, the load is moving with you, and there’s no comfortable chair waiting when your back decides it’s had enough. But with the right preparation, you can still get outside, enjoy the mental-health benefits of spending time outdoors and finish the day without feeling as though you’ve been folded into the boot of the car.
With a few strategic tweaks to your gear, a simple change in how you pack, and some counter-intuitive movement habits on the trail, you can comfortably log your miles and return home to tell the tale (hopefully pain-free!). Let’s dive into exactly how to hike with lower back pain without triggering a flare-up.
Contents
- Phase 1: Pre-Hike Preparation (The “Off-Trail” Work)
- Phase 2: Gear & Packing Strategy
- Phase 3: On-Trail Techniques (What to Do While Walking)
- Phase 4: Overnights & Camp Recovery (For Multi-Day Hikers)
- Hiking With Lower Back Pain | Frequently Asked Questions
- Final Thoughts
Phase 1: Pre-Hike Preparation (The “Off-Trail” Work)
I used to think preparing for a hike just meant throwing some trail mix into a daypack and double-knotting my laces. But after one particularly beautiful autumn trek ended with me practically crawling back to my car, clutching my lower back and cursing the very existence of hills, I realized the hard way: a pain-free hike actually starts the day before you even step foot on the trail.
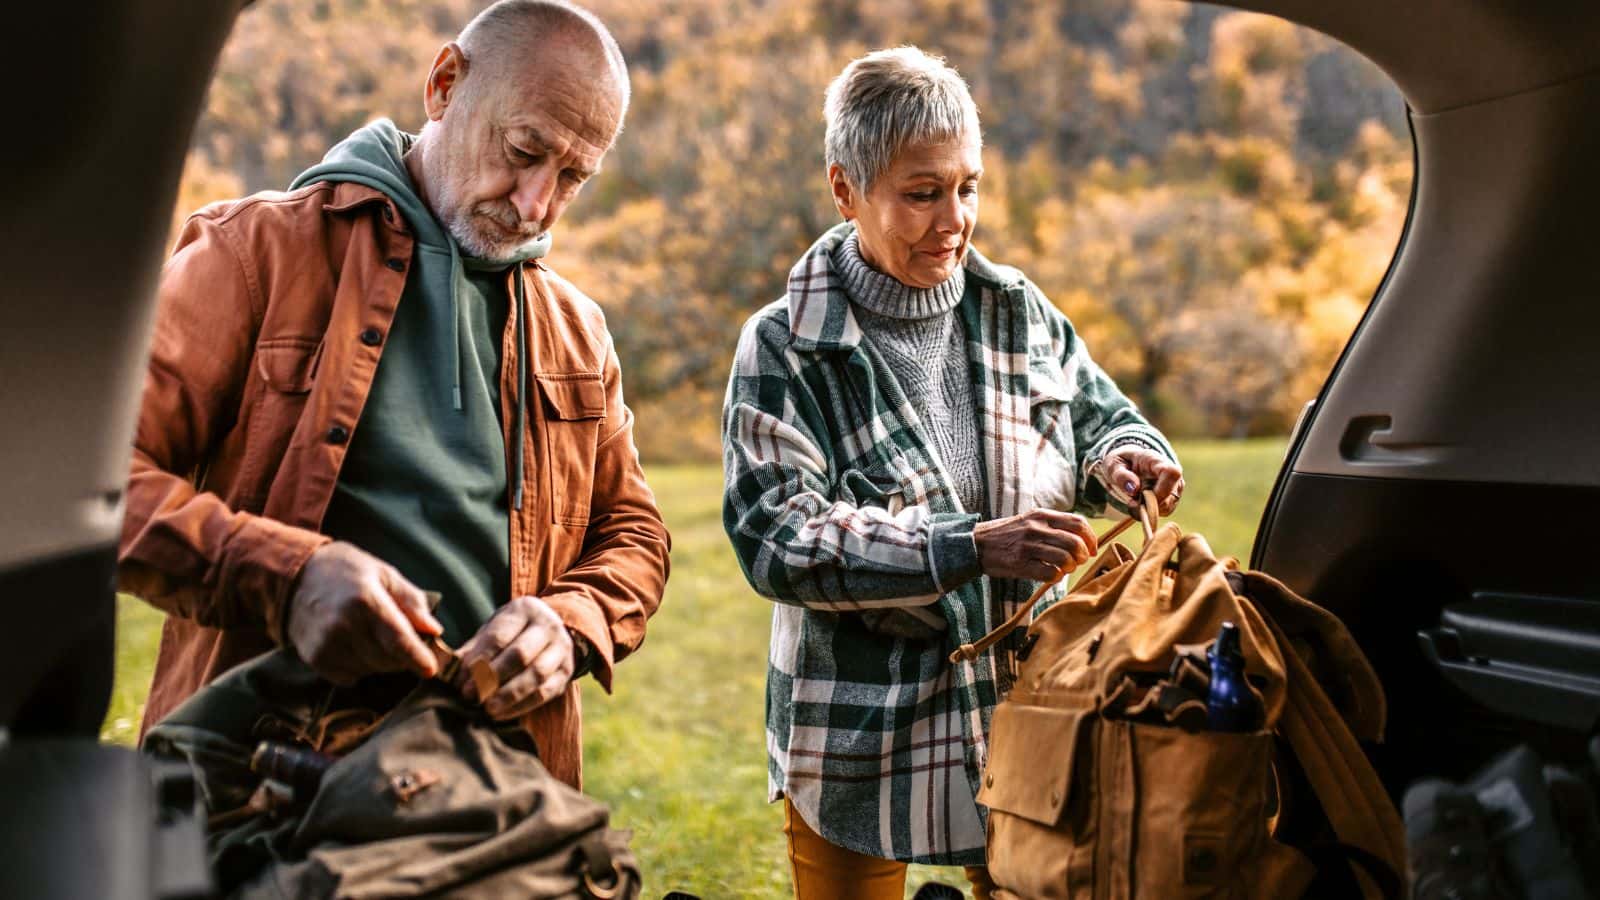
If you want to protect your lower back, you’ve got to lay some groundwork before you leave the driveway.
1. The 24-Hour Hydration Secret
Let’s talk about something most hiking guides completely ignore… and that’s how important it is to stay hydrated. You already know you need to drink on the trail so you don’t pass out, but did you know your spinal discs are basically tiny, fluid-filled shock absorbers? They’re made up of about 80% water!
When you get dehydrated, those discs lose their plumpness and volume. They flatten out, which means they can’t absorb the impact of your steps anymore. Suddenly, with every step you take, you’re essentially sending a shockwave of bone-on-bone pressure straight up your lower back.
I’ve made it a personal rule now to stay hydrated around the clock, and especially in the 24 hours period before I set off for a hike. If you’re only starting to drink water when you feel thirsty at the trailhead, your spinal discs are already operating on empty.
2. Stretch the Hips, Not the Back
When our lower back starts aching, our first instinct is usually to bend over and try to stretch it out. But more often than not, your back isn’t the real troublemaker, and it’s actually your hips.
Spending forty hours a week hunched over a desk leaves us with incredibly tight hip flexors and glutes. When your hips are locked up, they can’t rotate or move fluidly as you walk. To compensate, your lower back is forced to twist and bend far more than it was ever designed to do just to help you take a normal step.
Instead of aggressively cranking on your spine, focus your pre-hike stretches here:
- The Gentle Hip Flexor Lunge: Kneel on one knee and gently push your pelvis forward until you feel a deep, clean stretch in the front of your hip.
- The Glute Bridge: Lie flat on your back, bend your knees, and squeeze your glutes to lift your hips toward the ceiling. This “wakes up” the big muscles in your backside so they can actually do their job of supporting you on steep climbs.
3. Footwear as Your Spine’s Foundation
Every step you take on a rocky trail sends an impact force traveling upward through your body. If your feet aren’t properly supported, that force doesn’t get absorbed; it travels right past your knees, through your pelvis, and slams directly into your lower lumbar joints.
Even a tiny blister or a sore spot on your heel can cause you to subtly alter your gait. You might start limping slightly, walking on the outer edge of your foot, or taking awkward, shortened strides to protect a tender spot. You might not even notice you’re doing it, but your lower back certainly will. Within a mile or two, that uneven, compensated movement could trigger a massive flare-up.
Before you head out, make sure your footwear isn’t already setting you up for a miserable hike. If you’re torn between sturdier boots and something lighter, our guide to hiking boots vs trail runners will help you work out which suits you best.
And don’t ignore smaller problems. Sore heels in hiking boots or a blister starting to form might sound like minor issues, but once you begin limping or shortening your stride, your back often ends up picking up the slack. Sorting those issues early and knowing how to stop blisters when hiking can make the whole hike feel easier.
Phase 2: Gear & Packing Strategy
If you’ve ever watched a hiker awkwardly lean forward at a forty-five-degree angle just to keep from tipping over backwards, you’re looking at someone whose lower back is screaming for mercy. When your pack isn’t adjusted correctly, it acts like a giant anchor, dragging your shoulders back and forcing your lower spine into a hyper-extended, compressed arch to keep you upright.

You don’t necessarily need to go out and buy a hyper-minimalist, ultra-expensive setup, but you do need to be incredibly intentional about how you distribute the weight you’re carrying.
1. The Hip Belt Is Your Best Friend
I used to make the classic mistake of letting my shoulders carry the brunt of my pack’s weight. By mile three, my neck was tight, my shoulders were raw, and my lower back felt like it was being compressed by a hydraulic press.
Here is the golden rule of hiking with back pain: your hips should carry 70% to 80% of the weight, leaving your shoulders to merely stabilize the load.
When you put your pack on, loosen all the straps first. Position the padded hip belt directly over your iliac crest (the top of your hip bones) and cinch it down snugly. Only then should you tighten the shoulder straps and load lifters until the pack rests flush against your upper back. If done right, you’ll feel the weight instantly drop off your spine and onto your pelvis, which is designed to carry heavy loads.
2. The Golden Rules of Pack Math
How you stack your gear inside the pack is just as important as how much it weighs. If you throw your heaviest items at the very bottom or the outside edge of your bag, you create a massive lever effect that constantly pulls your spine out of alignment.
Instead, visualize your pack in zones:
- The Bottom Zone: Put your lightest, bulkiest items here (like a lightweight sleeping bag or extra layers). This acts as a shelf.
- The Core Zone (Against Your Spine): This is where your heaviest items go (your water bladder, cooking kit, or heavy food rations). You want these resting right against your thoracic spine (mid-back) so the center of gravity stays close to your body.
- The Outer Zone: Put medium-weight items (like a rain jacket or first aid kit) on the outside and top.
Keeping your overall base weight down is crucial, so take a look at our breakdown of lightweight camping and day-hike packing guides to make sure you aren’t accidentally dragging along unnecessary items that will aggravate your injury.
3. The Magic of Trekking Poles
I’ll admit, I used to be a bit stubborn about trekking poles. I thought they were only for elite mountaineers or hikers twice my age. But after a friend practically forced a pair into my hands during a steep, rocky descent in Wales, I became an instant convert.
Trekking poles are absolute game-changers for lower back pain. Every time you plant a pole, you effectively distribute a portion of your body weight and pack impact through your arms and shoulders rather than letting it slam down into your knees and lumbar spine. They also keep you walking in a more upright, proud posture, preventing that dreaded, exhausted forward slouch that triggers back spasms on long climbs.
Phase 3: On-Trail Techniques (What to Do While Walking)
Once you’re finally out there on the trail, it’s easy to slip into autopilot. You get into a rhythm, your mind drifts, and before you know it, you’ve been walking with a stiff, guarded posture for two hours straight.
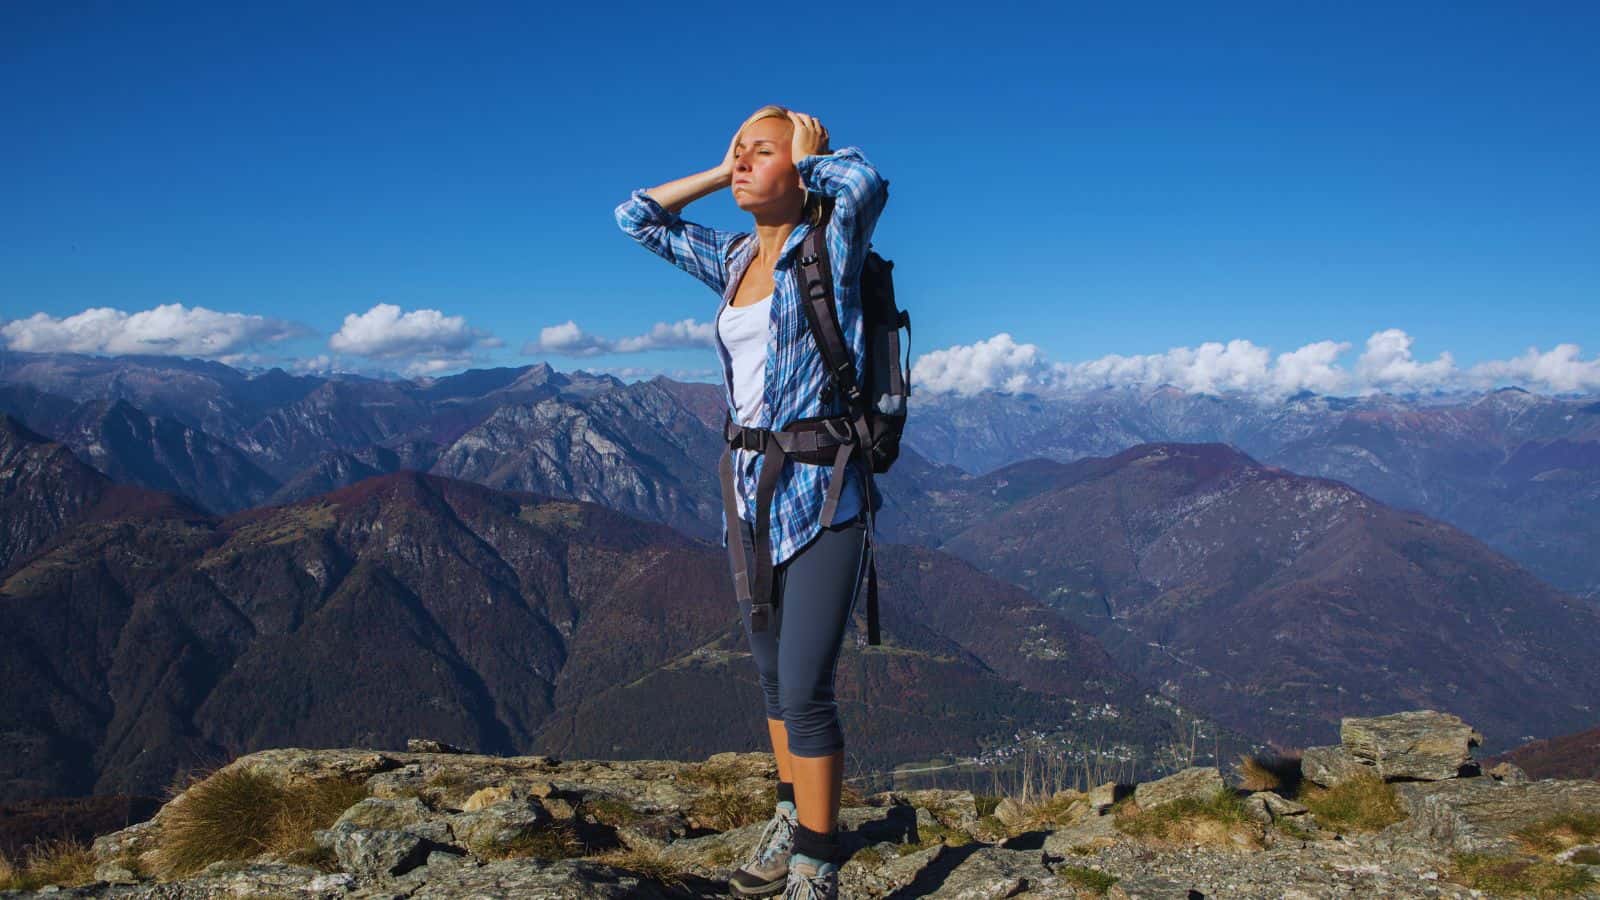
To keep your back from locking up, you have to actively manage your movement while you walk. Here are three simple, on-trail habits that have completely saved my spine on long day-hikes.
1. Take Movement Breaks Before You Stiffen Up
Walking in one guarded position for hours can leave your back feeling increasingly stiff, especially when there’s a pack strapped to it. Every so often, stop somewhere safe, remove the bag and give yourself a minute to move without the extra load.
That doesn’t mean folding yourself in half or forcing a dramatic stretch. Walk around, roll your shoulders, change position and use whichever gentle movement already helps your back. Some people like a small backward lean, others prefer bending slightly forward, and plenty feel best doing neither.
The right movement is the one that leaves your symptoms the same or better. If it sends pain further into your leg, increases numbness or makes your back seize up, it isn’t the right trail-side stretch for you.
2. The Horizontal Rest Break (Ditch the Rock)
When most hikers take a rest break, they find the nearest big rock or log and slouch right down onto it. But if you have lower back pain, this is actually one of the worst things you can do. Sitting on a low, hard surface forces your pelvis to tilt backward, putting your lower spine into a deep, unsupported curve while it’s still warm and tired. It’s a prime recipe for a massive spasm when you try to stand back up.
Instead, look for a flat, grassy spot, lay down a light groundsheet or your jacket, and lie completely flat on your back for five minutes.
Bend your knees and place your feet flat on the ground (this is called the constructive rest position). Lying down flat temporarily unloads all gravity and weight from your spine, allowing your spinal discs to decompress and rehydrate. I promise, if you start taking horizontal rest breaks instead of sitting breaks, your back will thank you by the end of the day.
3. The “Half-Step” Climb
When you hit a steep incline, the natural temptation is to lean forward and take big, powerful strides to power through the hill. But taking huge steps upward requires your pelvis to twist and rotate aggressively under load. If your lower back is already vulnerable, that twisting motion under pressure is a classic trigger for a flare-up.
Instead, switch to the “half-step” technique:
- Shorten your stride significantly – your steps should be about half the length of your normal flat-ground walking stride.
- Keep your feet relatively wide apart (about hip-width) to give yourself a wide, stable base.
- Keep your chest upright, using your trekking poles to help push you upward rather than leaning your torso over your knees.
It might feel like you’re moving in slow motion at first, but it keeps your pelvis relatively stable and protects your lumbar joints. Plus, you’ll find you don’t get nearly as winded!
Phase 4: Overnights & Camp Recovery (For Multi-Day Hikers)
If you’re planning a multi-day trek or an overnight backpacking trip, the battle to protect your back doesn’t end when you arrive at camp. In fact, camp is usually where the real trouble starts. After a long day of carrying a heavy pack, your muscles are warm, tired, and ready to seize up the second you stop moving.
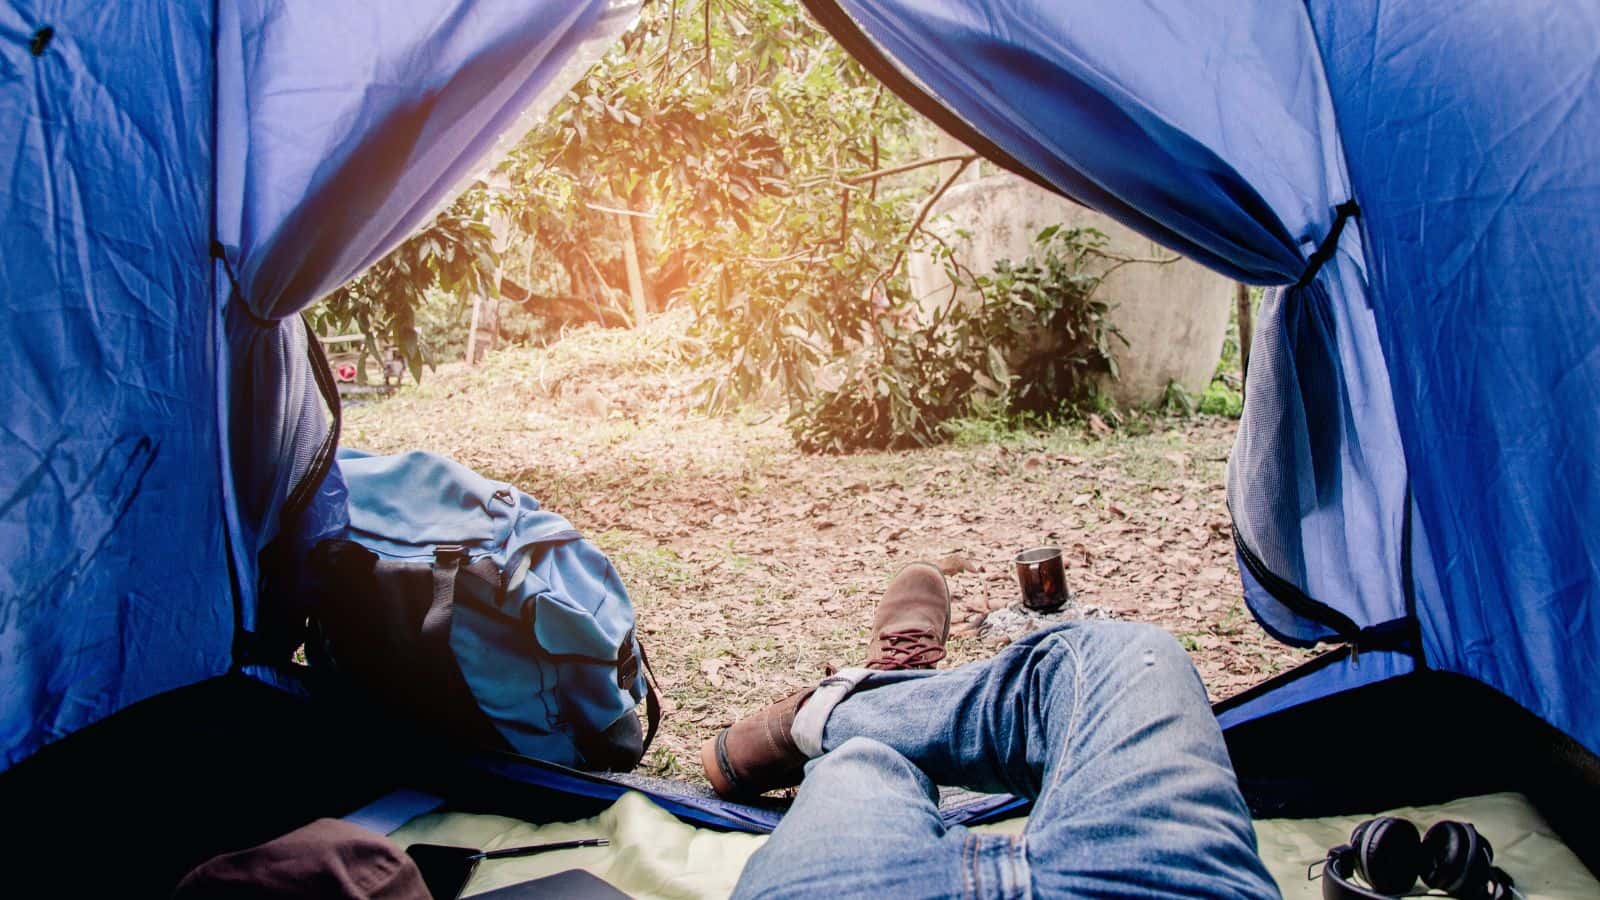
Getting through a night under canvas without waking up feeling like a folded piece of cardboard comes down to how you handle camp life and, crucially, your sleep setup.
1. Setting Up for Pain-Free Sleep
When you sleep on the cold, hard ground, your body naturally tenses up to stay warm, which causes your back muscles to lock. If your sleeping mattress is too thin, your hips and shoulders bottom out against the hard earth, throwing your spine completely out of alignment.
If you’re backpacking, prioritizing a high-quality, supportive sleeping mattress is the single best investment you can make. When choosing your gear, look for a mattress with a high “R-value” (insulation rating) and plenty of thickness to cushion your pressure points. If you want to dive deep into what actually works, take a look at our guide to finding the best camping mattress for a bad back in the UK.
Once you have your mattress, your sleeping position is the next line of defense:
- If you sleep on your side: Your top leg will naturally want to slide forward and rest on the ground, twisting your pelvis and lower back all night. To stop this, slide a spare fleece, a dry jacket, or an inflatable pillow between your knees to keep your hips perfectly stacked.
- If you sleep on your back: Sliding a rolled-up sweater under your knees takes the tension right off your psoas muscle and allows your lower back to flatten naturally against your pad.
For more tips on setting up a comfortable night’s rest, check out our guides on sleeping positions for camping and managing camping with a bad back overall.
2. The Campfire Chair Warning
I’ll never forget a weekend trip to the Lake District where I spent the day hiking, only to ruin my back in the span of an hour after dinner. We had set up camp, and I eagerly collapsed into one of those ultra-light, bucket-style folding camp chairs. You know the ones – they sag in the middle, forcing your knees up higher than your hips and turning your lower spine into a giant, slumped “C” shape.
When I tried to stand up to put another log on the fire, my back locked so hard I couldn’t straighten up for the rest of the evening.
Low-slung, saggy chairs are absolute poison for an already-vulnerable lumbar spine. If you’re car camping or don’t mind carrying a tiny bit of extra weight, it’s worth swapping the bucket chairs for a more upright, structured design. Take a look at our roundup of the best camping chairs for bad backs to find a setup that actually supports your posture while you’re relaxing by the fire.
Hiking With Lower Back Pain | Frequently Asked Questions
Is hiking good for lower back pain?
It can be. Walking keeps you moving, gets blood flowing and stops your back from stiffening up on the sofa. The problem is that hiking isn’t just walking with a better view. You’ve got hills, loose ground, awkward steps and a rucksack pulling at you for several hours.
Start with routes that feel almost too easy and see how your back responds later that day and the following morning. If every walk leaves you worse for three days, adding more miles and hoping your spine eventually gets the message probably isn’t the answer.
The NHS recommends staying active with back pain and lists walking as one of the activities that may help, but you should stop any exercise that clearly makes your symptoms worse.
Can I go hiking with sciatica?
Plenty of people continue walking with sciatica, especially when the symptoms are familiar, stable and improving. Gentle movement can feel far better than sitting still for hours, and the NHS advises carrying on with normal activity as much as you can.
That doesn’t mean every hike is a good idea. If the pain is spreading further down your leg, numbness is increasing, your foot feels weak or your walking is becoming less steady, leave the big hill for another day. A short local route with an easy escape is a much better test than discovering six miles from the car that your leg no longer wants to cooperate.
Can you hike with a bulging or slipped disc?
A disc problem doesn’t automatically end your hiking days. Some people have disc bulges on scans without much pain at all, while others have symptoms that make a walk to the shops feel ambitious.
What matters most is how your back and legs are behaving now. If you can walk comfortably, your symptoms are stable and you’ve been cleared to stay active, build up in small steps. Start without a heavy pack, avoid remote routes and don’t use one decent morning as proof that you’re ready for Snowdon.
If you’ve recently injured your back, have worsening leg weakness or aren’t sure what’s safe, speak to your GP or physiotherapist before turning a local walk into a full-day expedition.
Is walking uphill or downhill worse for your lower back?
Either can be the villain, depending on your back.
Uphill walking demands more from your legs and hips and often pulls you into a forward lean. Downhill walking creates more braking force and can feel harsher with every heavy step. If descents bother you, shorten your stride and use trekking poles rather than launching yourself down the slope like you’re late for the pub.
Wet ground, ice and snow add another layer because you’ll tense up and move less naturally when you’re worried about slipping. Make sure your footwear can handle the conditions; our guide to whether hiking boots are suitable for snow covers the limits of ordinary boots in winter.
How heavy should my backpack be if I have lower back pain?
There isn’t one magic percentage that works for every body and every back. A fit, experienced hiker may carry a load that would flatten someone who’s only just returned to walking after a flare-up.
The useful rule is far less scientific: carry everything you genuinely need and as little else as possible. Weigh the packed bag at home, walk around with it and remove anything you’re only bringing because it looked useful on Instagram.
If you’re hiking into camp, our guide to essential camping gear can help separate the things you’ll use from the things that’ll spend the weekend digging into your spine. Anyone camping without a car needs to be even stricter, because every luxury has to travel on your back.
Are high-ankle hiking boots better for a bad back?
Not automatically. A tall, heavy boot won’t protect your spine by itself, and extra stiffness can feel clumsy if it stops your feet and ankles moving naturally.
The best footwear is the pair that fits properly, grips the ground and lets you walk without limping, sliding or compensating for sore spots. Our guide to whether hiking boots need ankle support explains what a higher cuff can and can’t do.
Whatever you choose, don’t take brand-new footwear on the longest hike of the year. Break your hiking boots in while you’re still close enough to home to change them.
Should I wear a back brace while hiking?
A brace may make some people feel supported, but it can’t turn an unsuitable route into a suitable one. It won’t fix poor pack adjustment, weak legs, an overambitious distance or the fact you’ve brought enough gear to survive a minor apocalypse.
It can also become hot, restrictive and uncomfortable after several hours. If a clinician has recommended one for a specific condition, follow their advice. Otherwise, don’t assume tightening a brace around your middle gives you permission to ignore what your back is telling you.
Should I take painkillers before a hike?
Only if they’re safe for you and you’re using them according to medical or pharmacist advice. Anti-inflammatory medicines such as ibuprofen aren’t suitable for everyone, and the NHS recommends checking with a pharmacist or GP if you’re unsure which painkiller you can take.
Medication may help you manage a familiar ache, but it shouldn’t be used to mute your back while you drag it around a route it wasn’t ready for. Pain is annoying, but it’s also information. Completely silencing it before a demanding hike can make it harder to notice when a manageable niggle is turning into a proper problem.
Why does my back hurt after hiking rather than during it?
Adrenaline, warm muscles and the distraction of the trail can keep discomfort in the background while you’re moving. It’s often when you stop, remove the pack and fold yourself into the car that everything begins tightening up.
The hike may not be the only culprit either. A long drive home, an hour slumped in a low camp chair or a poor night on an unsupportive mat can finish the job. If you’re sleeping outdoors, have a read of our guide to whether sleeping on the ground is bad for your back.
A few minutes of easy walking after the hike can feel better than stopping dead and sitting for the rest of the evening.
When should you stop hiking and get medical help?
A familiar ache that settles when you slow down is one thing. New weakness, major numbness or rapidly worsening pain is another.
Stop the hike and get urgent medical help if you develop pain, tingling, weakness or numbness in both legs; lose feeling around your genitals or anus; or notice changes in bladder or bowel control. Those aren’t symptoms to stretch out, walk off or reassess after lunch. The NHS guidance on back pain advises going to A&E or calling 999 when these symptoms appear.
You should also seek medical advice if your pain keeps worsening, regularly stops you doing normal activities, wakes you at night or refuses to improve after a few weeks. Turning around early might bruise your pride for ten minutes. Turning a warning sign into a rescue situation tends to ruin the whole day.
Final Thoughts
At the end of the day, hiking with a bad back isn’t about proving how tough you are. If there’s one thing I’ve learned from years of managing my own fussy spine, it’s that the trail doesn’t care about your pride, but your body certainly does.
For a long time, I thought getting older or dealing with back issues meant I’d have to swap my hiking boots for a rocking chair. But the real shift happened when I stopped fighting my body and started working with it. By prepping my hydration early, packing my gear with a bit of strategy, and being utterly shameless about lying flat on the ground for a five-minute rest break, I’ve been able to enjoy some of the most beautiful views of my life completely pain-free.
Your back pain doesn’t have to write the final chapter of your outdoor adventures. It’s simply asking you to move a little slower, pack a little lighter, and hike a little smarter.
So, pack up your gear, adjust that hip belt, and head out there. The trees are waiting, the air is clear, and with the right approach, your spine is going to do just fine. Happy trails!
