
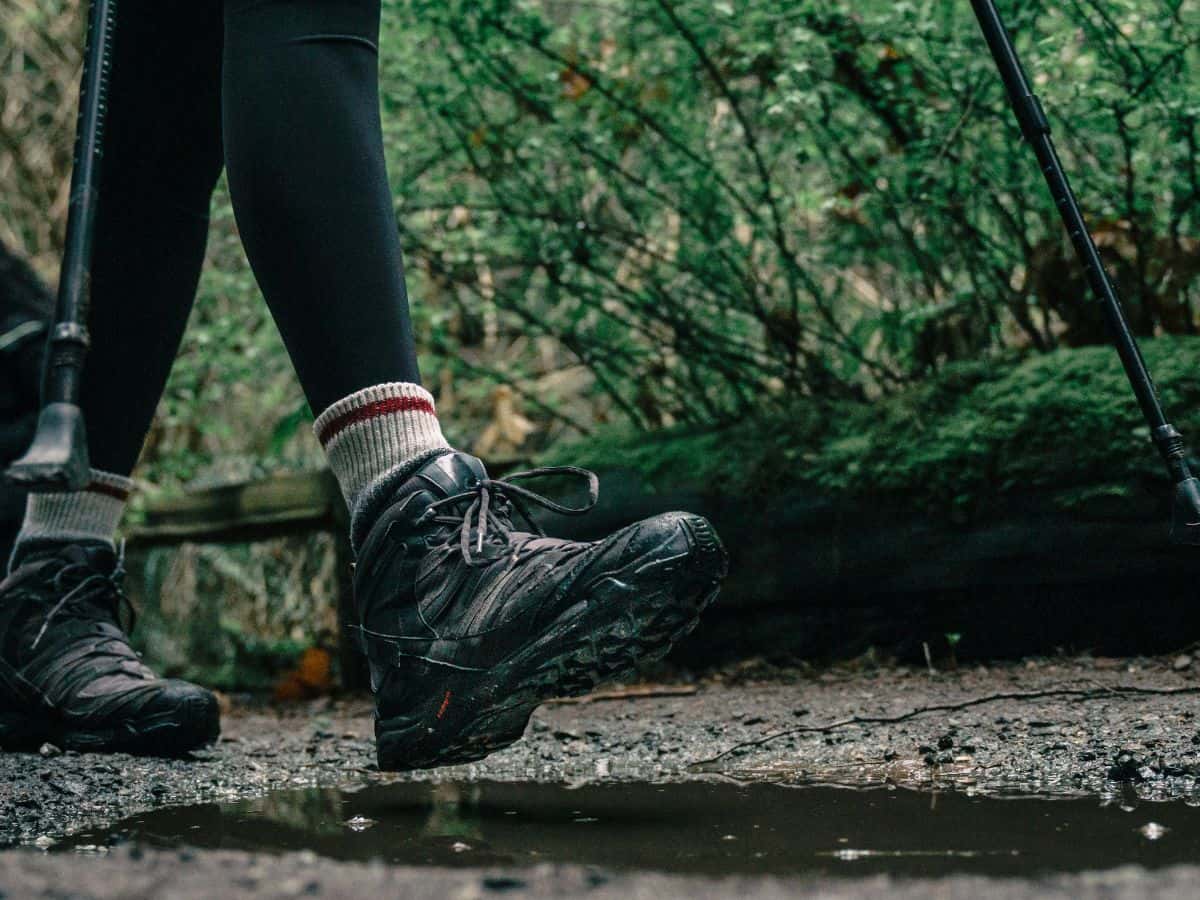
We’ve all been there… you get back from a wet walk, pull your boots off, and realise they’re not just a bit damp – they’re properly soaked. The kind of soaked where the insoles feel heavy, the inside of the boot is cold to the touch, and tomorrow’s walk suddenly depends on whether you can perform some sort of small footwear miracle before morning.
The good news is that learning how to dry hiking boots overnight isn’t complicated, and you can often make a big difference with a few simple tips. The bad news is that there isn’t a magic trick that instantly turns soaked hiking boots into warm, dry, comfortable ones without risking some damage. The boring methods are usually the ones that work best, and with boots, boring is exactly what you want. Especially if you’ve spent a small fortune on the best hiking boots you can afford!
The best way to dry hiking boots overnight is to remove the insoles and laces, open the boots up fully, absorb as much moisture as possible with newspaper, kitchen roll or a dry cloth, then leave them somewhere warm, dry and well ventilated with airflow moving through them. A fan or dehumidifier can help, but avoid radiators, fires, ovens, tumble dryers or direct heat, because too much heat can damage leather, glue, waterproof membranes and the shape of the boot.
Now I know what you’re thinking, because many years ago it was my first thought! When your boots are wet and you need them again soon, it’s tempting to go straight for heat. A radiator feels like the obvious answer. So does a hairdryer, a fire, or whatever other slightly questionable idea starts to form when you’re standing in the hallway holding two soggy boots and quietly resenting the weather.
But hiking boots aren’t like a thin pair of trainers. They’re built from layers of material, padding, stitching, adhesives and sometimes waterproof membranes. Drying them too aggressively can leave leather stiff, weaken glue, shrink or distort parts of the boot, and make them less comfortable the next time you wear them.
So this guide is about what actually works. We’ll look at how wet your boots really are, the safest overnight drying method, what not to do, whether they’ll genuinely be dry by morning, and how to manage things if they’re still slightly damp when you need to head out again.
Contents
- First, Be Honest About How Wet They Are
- The Best Way to Dry Hiking Boots Overnight
- What Not to Do When Drying Hiking Boots
- What If Your Boots Are Still Damp in the Morning?
- How to Deal With Wet Hiking Boots While Camping
- Frequently Asked Questions
- Final Thoughts
First, Be Honest About How Wet They Are
Before you start trying to dry them, it’s worth taking a moment to work out what kind of wet you’re actually dealing with.
There’s a big difference between boots that are damp from wet grass, light rain or sweaty feet, and boots that have been properly soaked through after a day of heavy rain, boggy ground or an enthusiastic misjudgement of a stream crossing. The first kind can often be improved massively overnight. The second kind can still be helped, but you may need to lower your expectations slightly. Sometimes “dry enough to wear without ruining your hike” is a more realistic target than “perfectly dry and ready for anything.”
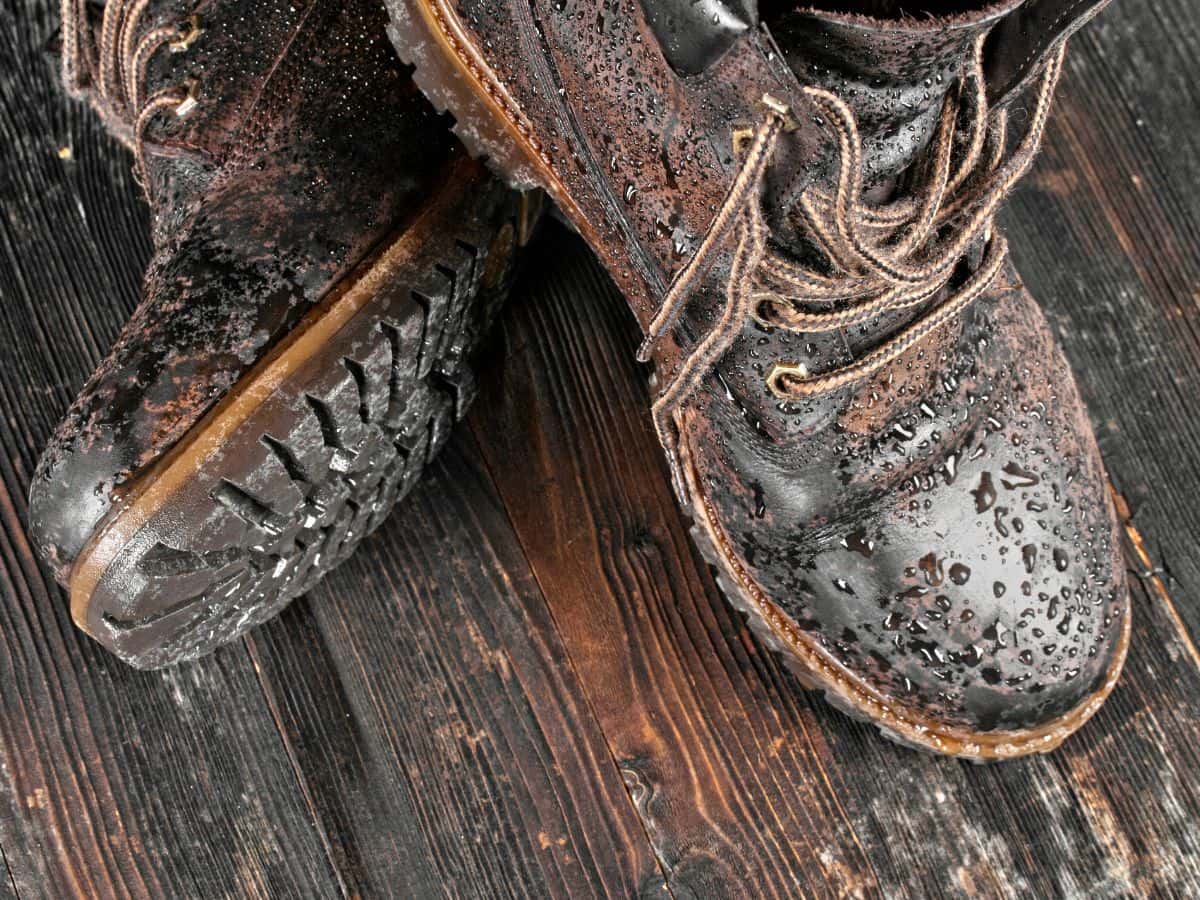
This is especially true with leather hiking boots. Leather can be brilliant for protection, durability and bad weather, but once it gets properly wet, it doesn’t give the moisture back quickly. Thick padding around the ankle, heavy insoles and waterproof linings can all hold onto water as well, which is why the outside of the boot might feel almost dry while the toe box still feels cold and damp inside.
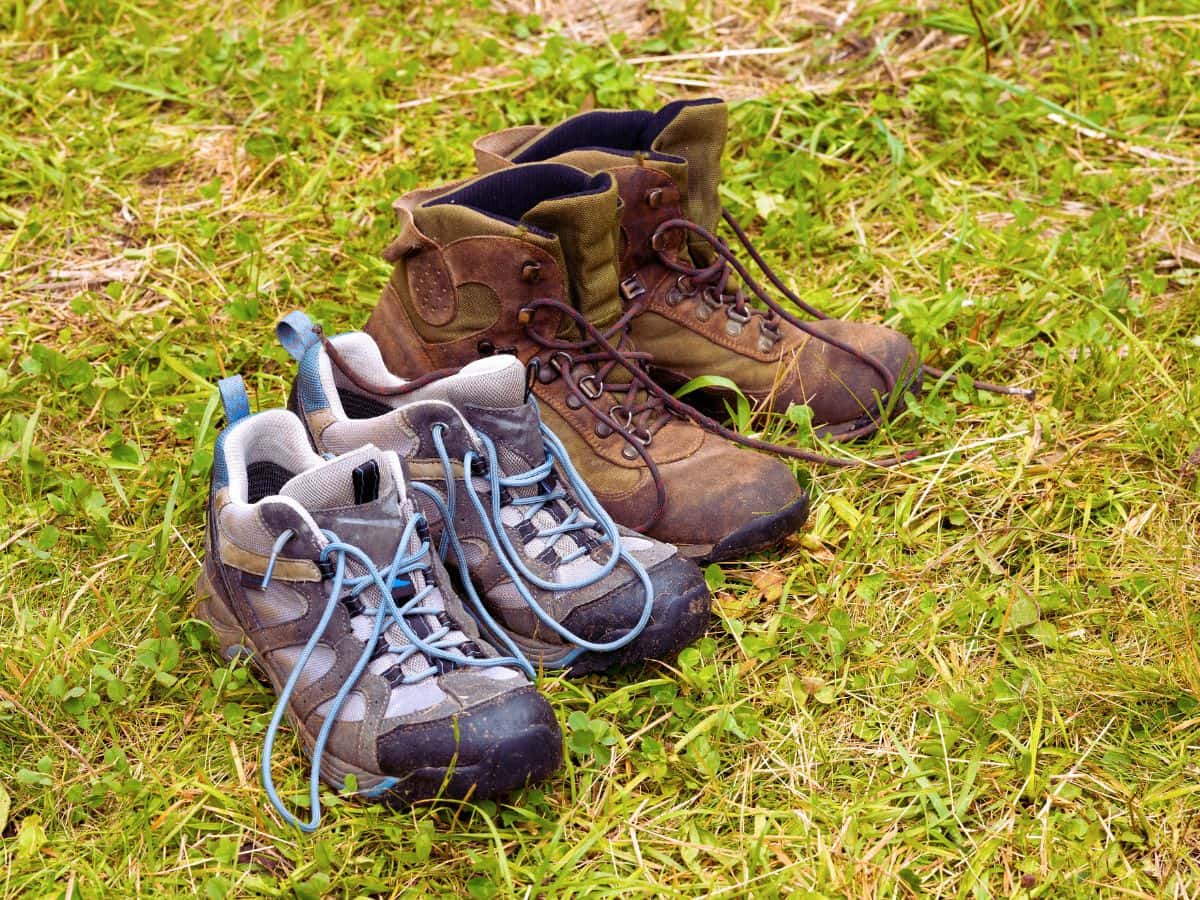
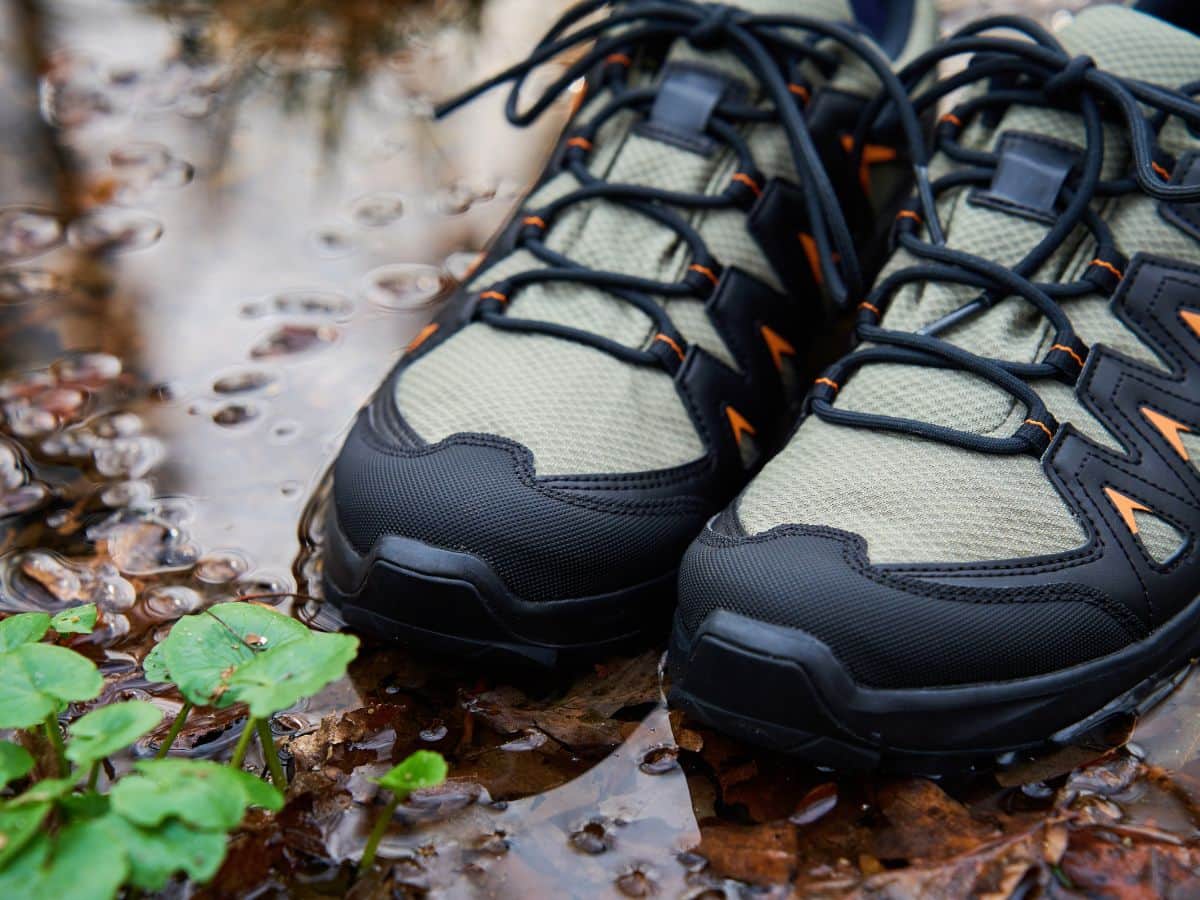
Lighter synthetic boots and trail shoes usually dry faster, simply because there’s less dense material involved. That’s one of the practical differences we touched on in our guide to hiking boots vs trail runners. Trail runners may let water in more easily, but they also tend to release it more quickly. A heavy waterproof boot is better at keeping water out for longer, but once water gets inside, you’ll have a harder job getting it out.
It also matters where the water came from. If the boots are damp because your feet got hot and sweaty, the drying job is usually easier, although you’ll still want to take the insoles out and let everything air properly. If the boots are wet because you’ve spent hours walking through rain, mud and saturated grass, there’s more moisture trapped in more places, and you’ll need to be more patient.
This is why wet-weather planning helps before you ever get to the drying stage. If you’re heading out when the forecast looks grim, our guide to camping in the rain covers the wider problem of keeping yourself and your kit as dry as possible, which is always easier than trying to rescue everything afterwards.
So before we get into the actual method, have a quick look inside the boots. Pull the insoles out, feel around the toe box, check whether the padding is wet, and see whether there’s any standing water or mud still sitting inside. That tells you how hard the overnight drying job is going to be.
If they’re only damp, you’ve got a very good chance. If they’re soaked, you can still make them a lot better by morning, but the method matters much more.
The Best Way to Dry Hiking Boots Overnight
Once you know what kind of wet you’re dealing with, the first job is to open the boots up as much as possible.
Remove the Insoles and Open the Boots Up
Start by taking the insoles out.
This is one of those small steps that makes a bigger difference than you’d expect, because insoles can hold a surprising amount of moisture. If you leave them inside the boots, the whole drying process slows down. The boot is trying to dry, the insole is trying to dry, and both of them are sitting together in a cold little pocket of dampness.
Take the laces out as well, or at least loosen them fully so you can pull the tongue forward and open the boot properly. You’re trying to let air reach the inside, especially down into the toe box where moisture tends to linger. If the boot stays tightly laced and closed up, the outside might start drying while the inside remains unpleasantly cold and damp.
Lay the insoles somewhere separate with air around them. Don’t tuck them under the boots or leave them in a pile with wet socks. Give them their own space to dry, because you’ll notice immediately the next morning if the boots are almost dry but the insoles still feel like two wet, soggy pieces of carpet.
Get the Worst of the Water Out First
Before you start stuffing the boots with anything, get rid of the obvious water.
If there’s standing water inside, tip it out. If the boots are muddy, wipe or brush off as much of the wet dirt as you can. Mud holds moisture and slows everything down, so drying boots while they’re still caked in it is a bit like trying to dry a towel while it’s lying in a puddle.
Use an old towel, cloth or kitchen roll to blot the inside of the boot. Don’t scrub aggressively, especially around linings or waterproof membranes. Just press into the damp areas and pull out as much moisture as you can. The toe box, heel and padded ankle area are usually the places worth checking properly.
Do the outside too. You don’t need to polish them like you’re preparing for inspection, but removing the worst of the surface water gives the rest of the drying process a much better chance.
Use Newspaper, Kitchen Roll or a Dry Cloth
Once the obvious water is gone, stuff the inside with something absorbent.
Newspaper works well because it pulls moisture from the inside of the boot and is easy to replace. Kitchen roll can work too, though you may get through more of it. A microfibre towel or dry cloth is useful if you don’t have paper, especially because you can wring it out and reuse it.
The trick is not to pack the boot so tightly that no air can move. You want the paper or cloth touching the damp areas, but not rammed in like you’re trying to preserve the shape of a fossil. Push some into the toe box, add a little through the middle, then leave the boot open enough for air to move around.
If the boots are very wet, change the stuffing after the first 30 to 60 minutes. That first round will usually pull out a lot of moisture quite quickly, and once the paper or cloth is damp, leaving it there doesn’t achieve much. It’s just wet material sitting inside a wet boot, and nobody needs that sort of teamwork.
After you’ve changed it once, check again before you go to bed. If the second lot is already damp, replace it with fresh paper or a dry cloth before leaving the boots overnight. This is one of the most useful parts of the whole process, because it stops the boot spending the night wrapped around something that has already done all the absorbing it’s going to do.
Add Airflow, Not Direct Heat
Once the inside has been blotted and stuffed, put the boots somewhere warm, dry and ventilated.
Warm doesn’t mean hot. A normal room is fine, and somewhere with decent airflow is even better. If you have a fan, point it towards the boot openings so air can move through them. You don’t need a gale-force wind rearranging the hallway, just steady airflow doing its job while you sleep.
A dehumidifier can help as well, especially in a small room. It won’t perform miracles, but it can make the air less damp, which gives the boots a better chance of releasing moisture. This is particularly useful in winter, when the whole house can feel slightly damp and every wet item you own seems to dry at the speed of geological change.
Try to position the boots so air can move inside and around them. Don’t stand them upright in a cramped corner, don’t trap them under a coat, and don’t leave them inside a sealed bag. If you can angle them slightly, or place them where the openings face the airflow, even better.
If you’ve been caught out on a day hike and had to deal with wet gear before, this is also where a bit of planning helps next time. A small towel, spare socks or even a few sheets of kitchen roll can be surprisingly useful after a wet route, and our guide on what to pack for a day hike covers the sort of small practical items that can save a lot of hassle later.
By this stage, you’ve done the important bits. The boots are open, the insoles are out, the worst of the water has been removed, the inside has something absorbent in it, and airflow is doing the slow but safe part overnight.
Now the important thing is not to ruin all of that by trying to speed things up with heat.
What Not to Do When Drying Hiking Boots
We’ve touched on this already, but it’s worth repeating, because the most tempting drying methods are usually the ones most likely to cause problems.
A radiator is the obvious example. It feels like a solid choice because it’s warm, convenient, and sitting right there looking useful. But direct heat can dry the boot too quickly, especially if it’s leather. Instead of slowly releasing moisture, the materials can stiffen, crack, shrink or change shape, which is not what you want from something your feet have to spend several miles inside.
The same goes for open fires, campfires, ovens, tumble dryers and hot hairdryers. They might speed things up in the short term, but they can also damage the glue, stitching, waterproof lining and outer materials. If your boots survive the night but feel worse on the next walk, you haven’t really won.
The British Mountaineering Council’s boot-care advice makes the same point: don’t rush wet boots with excessive heat. Let them dry naturally in a cool or well-ventilated space, and use newspaper to help draw moisture out.
A hairdryer is only worth considering on a cool setting, from a sensible distance, and even then I wouldn’t stand there blasting one spot for ages. Gentle airflow is the useful bit. Heat is where the risk starts.
I’d also avoid leaving boots in direct sunlight, especially leather boots. A little natural warmth is fine, but baking them on a windowsill or outside in full sun can dry the material unevenly and make it stiff. If you’re drying them outdoors, shade and airflow are much better than harsh sun.
Don’t seal wet boots inside a plastic bag, cupboard or storage box either. That traps moisture exactly where you don’t want it. If the boots can’t breathe, the drying slows down and you’re much more likely to end up with that stale, damp smell that seems to announce itself before the boots are even fully open.
The same applies to wet newspaper or kitchen roll. It’s useful while it’s absorbing water, but once it’s damp, it needs to come out. Leaving soggy paper inside the boot all night just keeps moisture pressed against the lining.
The rule is simple enough: avoid anything too hot, too sealed or too aggressive. Open the boots up, pull moisture out, keep air moving, and let the materials dry at a sensible pace.
What If Your Boots Are Still Damp in the Morning?
If your boots still feel slightly damp in the morning, don’t panic. The question isn’t whether they’re perfectly dry. It’s whether they’re dry enough for the walk you’re about to do.
Start with the inside, because that’s the bit your feet will care about most. Press your hand down into the toe box, around the heel and under the insole area. If the boot feels cool but not wet, and a dry sock doesn’t immediately pick up moisture, you may be fine for a short hike. If the inside feels properly wet, or the insole is still holding water, that’s a different story.
This is where it helps to be honest about the day ahead. A slightly damp boot on a short local route is annoying but manageable. A damp boot on a long hike, a cold day or a route with lots of climbing can become a much bigger problem, because your feet won’t get many chances to recover once you’re moving.
If you do wear them, start with dry hiking socks, ideally wool or synthetic rather than cotton. Cotton holds moisture against your skin, which is exactly what you don’t want when the boot is already less dry than ideal. We’ve covered this in more detail in our guide to the best hiking socks for wet feet, but the simple version is this: your socks matter more when your boots are damp.
It’s also worth carrying a spare pair. Even if the boots don’t fully dry during the walk, changing into dry socks halfway through can make the day feel a lot less miserable. It won’t turn wet boots into dry ones, but it can stop your feet sitting in the same damp fabric for hours.
You’ll want to pay attention to rubbing as well. Damp boots and damp socks can soften the skin and make blisters more likely, especially around the heels, toes and sides of the feet. If you know where your boots usually rub, tape those areas before you set off rather than waiting until they’re sore. Our guide on how to stop blisters when hiking covers that in more detail.
If the boots are still very wet, and you have another suitable pair of footwear, use those instead. They may not be your first choice, but starting a long walk in soaked boots is rarely worth it unless you genuinely have no alternative.
And if you do go ahead, adjust the route to match the reality of the situation. Keep it shorter, avoid boggy ground if you can, and don’t turn a slightly damp start into a full day of foot-related regret.
How to Deal With Wet Hiking Boots While Camping
At home, wet boots are annoying. On a camping trip, they can quickly become a nightmare.
You don’t usually have the perfect drying setup. There’s no handy fan, no warm hallway, no pile of old newspapers, and no comforting sense that you can just wear something else tomorrow if the boots are still damp. You’ve got the kit you brought, the shelter you’re sleeping in, and whatever the weather has decided to do next.
The aim changes slightly here. You may not be able to get your boots completely dry overnight, especially if the air is cold or damp, but you can stop them getting worse and make them much less unpleasant to put on in the morning.
As soon as you stop walking, take the boots off and remove the insoles if you can. Let the boots and insoles air separately while you set up camp, cook or sort the rest of your kit. Even half an hour of open air is better than leaving everything sealed up and sweating in the corner of the tent.
Wipe off mud before it dries hard. A bit of grass, an old cloth or a small camping towel will usually do enough. You’re not trying to make them spotless, just removing the wet layer that keeps clinging to the outside and slowing everything down.
If you have a dry cloth, spare towel or an item of clothing you’re willing to sacrifice temporarily, you can press it inside the boots to pull out some of the moisture. Don’t use your last dry base layer unless you enjoy making tomorrow worse in a new and interesting way. But if you’ve packed a small towel or cloth, this is exactly the sort of moment it earns its place.
Keep the boots sheltered, but not sealed. That’s the awkward balance. You don’t want rain landing straight into them overnight, but you also don’t want to trap them inside a plastic bag where the moisture has nowhere to go. Under a tent porch, beneath a tarp edge or just inside the doorway can work, provided they’re protected from direct rain and still getting some air.
This is one reason a decent shelter setup matters on wet trips. Our guide to essential camping gear covers the basics, but with wet boots, even a small porch or sheltered space can make the difference between “a bit damp” and “why does my footwear hate me?”
Again, avoid putting boots right next to a campfire or stove. It’s tempting, because the heat is there and the boots are there, and your brain starts joining dots it has no business joining. But flames, embers and stove heat are far too unpredictable for boot materials. Warm air is useful, but scorching one side of a leather boot while the other side stays wet is not.
If you’re camping without a tent, managing wet gear takes a little more thought because you may have less enclosed shelter. A tarp or bivvy setup can still work, but you need somewhere rain won’t blow straight into the boots overnight. We’ve covered that wider setup in our guide to camping without a tent.
The main mistake is leaving wet boots untouched until morning. By then, they’re usually colder, smell worse, and feel more miserable than they needed to. Do the small things early: open them up, separate the insoles, remove the worst of the mud, keep them sheltered and let air do whatever air can manage.
They may not be dry by breakfast, but they’ll usually be better than they would have been if you’d ignored them completely.
Frequently Asked Questions
Can you use an electric boot dryer for hiking boots?
Yes, as long as it’s a gentle boot dryer designed for footwear, not something that blasts them with serious heat.
A boot dryer can be useful if you walk regularly in wet conditions, especially through autumn and winter when everything in the house seems to dry painfully slowly. The safest ones use gentle warmth or steady airflow rather than aggressive heat, which is the important distinction. You’re trying to help moisture leave the boot, not cook the materials into submission.
It probably isn’t something every casual hiker needs, but if wet footwear is a regular part of your life, it can be one of those genuinely useful bits of kit rather than another gadget that lives in a cupboard. We’ve got a broader look at practical outdoor kit in our guide to the best camping gadgets.
Should you reproof hiking boots after they get soaked?
Not every time, but it’s worth checking once they’re dry.
If water still beads on the outside and rolls away, the waterproofing is probably doing its job. If the outer material starts soaking water up quickly, especially on leather or fabric boots, they may need cleaning and reproofing with a product made for that material.
Just make sure the boots are properly dry and clean before you treat them. Reproofing over mud, grit or trapped damp is a bit like painting over a damp wall and hoping the house appreciates the effort.
Why do hiking boots smell after getting wet?
Usually because they stayed damp for too long.
Warmth, sweat, mud and moisture create exactly the sort of environment bacteria enjoy, which is why wet boots can start smelling even after they look dry from the outside. The insoles are often the worst part because they sit right under your feet and hold onto sweat as well as water.
Drying the boots properly helps, but if the smell has already settled in, you may need to clean the inside, dry the insoles separately and give the boots more time before storing them away. We go through that properly in our guide on how to make hiking boots smell better.
Do hiking socks make much difference if your boots are damp?
Yes, more than people realise.
If the boot is slightly damp, the sock becomes your last bit of defence between your foot and a miserable few hours. A good hiking sock can move moisture better, cushion the foot properly and reduce some of the rubbing that happens when everything is less dry than ideal.
A poor sock, especially cotton, tends to hold dampness against the skin and make the whole situation worse. That doesn’t matter much when you’re walking to the car, but it does matter a lot when you’ve still got several miles to go. Our guide on whether hiking socks make a difference covers why the right pair is worth having.
Can damp boots make your heels hurt?
They can, especially if the boots already rub slightly.
Damp material softens the skin, changes how the sock sits, and can make small fit problems feel much more obvious. A boot that only mildly annoys your heel on a dry day can become far more irritating when the inside is cool, damp and moving differently around your foot.
If heel pain is a regular issue, it may not just be the wet conditions. The boot might be slipping, the lacing might need adjusting, or the fit might not be quite right. We’ve covered that in more detail in our guide to why your heels hurt in hiking boots.
Can drying hiking boots badly change the fit?
Yes, especially if you dry them with too much heat.
Leather can stiffen, some materials can shrink slightly, and glued areas can weaken or distort. Sometimes the boot still looks fine afterwards, but feels harsher, tighter or less forgiving on the next walk. That’s one reason it’s better to dry them slowly and safely rather than trying to force the issue overnight.
If your boots feel different after getting soaked or dried too aggressively, treat the next walk with a bit of caution. Don’t go straight into a long route and assume they’ll behave exactly as they did before. Our guide on how to break in hiking boots is useful if they’ve started feeling stiff or unforgiving again.
Do hiking boots need different care in snow or winter conditions?
A little, yes.
Snow, slush and cold rain can leave boots wet on the outside and cold through the sole and upper, even if they don’t feel fully soaked inside. Salt, grit and repeated wet-dry cycles can also be harder on materials, so cleaning and drying them properly matters more in winter.
The bigger question is whether the boots are actually right for the conditions. Some hiking boots cope well with cold, wet ground, while others are better suited to mild trails. We’ve covered that in our guide to whether hiking boots are good for snow.
How should you store hiking boots after drying them?
Wait until they’re genuinely dry, then store them somewhere cool, dry and ventilated.
Don’t put them away while the insoles are still damp, and don’t seal them inside a plastic bag or airtight box. That’s how you end up discovering the problem weeks later, usually at the exact moment you were hoping to leave the house.
Give them a quick clean, make sure the inside has dried properly, then keep them somewhere they can breathe. It’s not the most exciting part of outdoor life, but neither is opening a cupboard and being greeted by the smell of last month’s wet walk. Leaving damp kit packed away is one of those small habits that causes bigger problems later, and it sits firmly in the same family as the common camping mistakes most of us only stop making after they’ve annoyed us once or twice.
Final Thoughts
Drying hiking boots overnight is mostly a lesson in not making the situation worse.
That sounds a bit underwhelming, I know, but it’s the truth. Once your boots are wet, there’s only so much you can do before morning. You can help them along, you can give the moisture somewhere to go, and you can avoid the mistakes that turn damp boots into damaged boots. What you can’t do, at least not safely, is bully them into becoming perfectly dry with a radiator, fire or hairdryer set to volcanic.
The useful stuff is simple. Open them up. Get the insoles out. Remove the worst of the water. Use something absorbent. Keep air moving. Then give the materials time to do what they need to do.
Sometimes that’s enough, but sometimes they’ll still be slightly damp when you wake up, and then the decision becomes less about the boots and more about the walk. A short, easy route may still be fine with good socks and a bit of care. A long, cold or remote hike might be better saved for another day, especially if your feet are going to spend hours paying for your optimism.
The main thing is to treat wet boots early and gently. They’ll last longer, smell better, feel better, and give you far less grief the next time the weather does what weather always seems to do when you’ve made outdoor plans.
