
There’s a unique kind of cruel joke that the trail likes to play on us. You slog up a steep incline for hours, feeling like an absolute mountain conqueror as you reach the summit. You take in the panoramic views, catch your breath, eat your trail snacks, and celebrate. But then… you turn around to head back down.
Within ten minutes of descending, every single step down feels like a hot needle being pressed directly into the front of your kneecap.
If you’ve ever found yourself wincing, groaning, or awkwardly sidestepping down a mountain trail while watching other hikers glide past you, you aren’t alone. It’s one of the most frustrating trail issues because it sneaks up on you precisely when you think the “hard part” of the hike is over. In fact, managing joint stress on descents is just as vital for a great day outdoors as knowing how to tackle hiking with lower back pain or avoiding swollen hands on the trail.
I remember my first real showdown with downhill knee pain on a trek in the Peak District. On the way up, I felt invincible. On the way down, my left knee locked up so severely that I spent the last two miles practically dragging my leg like a pirate with a peg leg, using a fallen tree branch as a crutch. It was humiliating, painful, and made me dread descents for a long time.
Knee pain when hiking downhill is primarily caused by eccentric quad contractions and increased impact forces. Walking downhill forces your quadriceps muscles to lengthen while simultaneously contracting to act as brakes, which pulls your kneecap tight against your thigh bone (femur). Additionally, descending multiplies the impact load on your knee joints by 3 to 8 times your body weight, aggravating the patellar tendon and joint cartilage (often referred to as Patellofemoral Pain Syndrome or “Hiker’s Knee”).
The good news? Experiencing joint pain on a descent doesn’t mean your hiking days are numbered, nor does it mean your knees are permanently “broken.” It’s usually just a mechanical problem – a combination of gravity, muscle load, and small movement tweaks that you can easily adjust once you know what to look for.
In this guide, we’re going to break down the exact biomechanics of why your knees scream on the way down, immediate trail hacks you can use on your next hike, and long-term exercises to make your joint pain a thing of the past.
Contents
- Why Hiking Downhill Punishes Your Knees
- On-Trail Fixes | How to Save Your Knees Mid-Hike
- Off-Trail Prevention | Conditioning & Gear Secrets
- Quick Post-Hike Recovery Checklist
- When to See a Doctor
- Frequently Asked Questions
- Final Thoughts | Protect Your Knees, Keep Exploring
Why Hiking Downhill Punishes Your Knees
To understand why you experience knee pain when hiking downhill, you first have to understand what’s actually happening under the hood. It’s easy to blame “bad knees” or getting older, but the truth is that descending a mountain subjects your lower body to a completely unique set of physical forces that simply don’t exist when you’re walking on flat ground or climbing uphill.
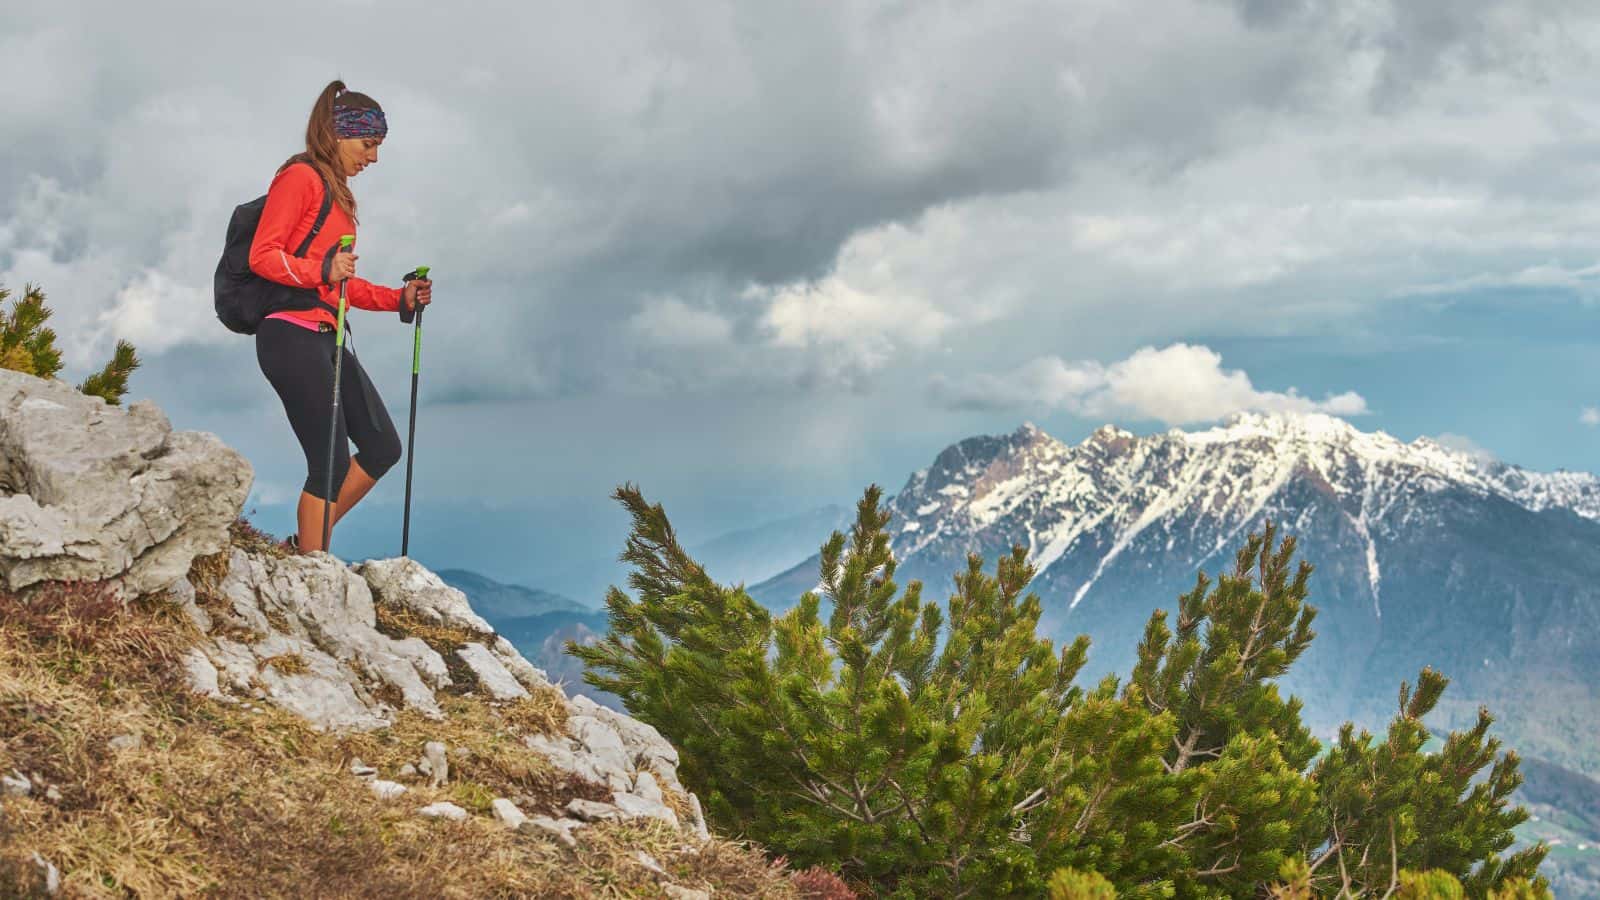
Here are the primary reasons your knees take such a beating on the way down.
1. The 3x to 8x Force Multiplier
When you hike uphill, your legs are working against gravity to lift your body weight. It’s hard work for your heart and lungs, but the impact force on your joints is relatively low because your momentum is moving upward and forward.
When you walk downhill, gravity is no longer something you’re fighting to lift against; it’s pulling you down fast. To keep you from tumbling head over heels down the mountain, your front leg has to catch your entire body weight with every single step. According to studies published by the National Center for Biotechnology Information (NCBI), descending steep gradients can multiply the joint reaction force on your knees by 3 to 8 times your total body weight.
If you’re carrying a heavy pack (even one carefully packed with just the essentials from our what to pack for a day hike checklist) that force increases even further. Every downward step is essentially a mini-jump landing that your knee joint has to absorb.
2. Your Quads as “Braking Pads” (Eccentric Contractions)
To understand why your muscles ache and pull on your joints, imagine how the brakes work on a bicycle. When you squeeze the brake lever, the rubber pads press hard against the spinning wheel to slow you down. And that friction creates heat, wear, and tension.
Your quadriceps (the big muscles on the front of your thighs) act as those exact braking pads when you hike downhill.
Physiologically, this is called an eccentric muscle contraction. An eccentric contraction occurs when a muscle is forced to lengthen while simultaneously firing to hold tension.
- Concentric (Uphill): Your quad shortens as it contracts to push you up.
- Eccentric (Downhill): Your quad lengthens under load as your knee bends to lower your weight down to the next step.
Eccentric contractions generate massive internal tension. As your quads pull hard to slow your descent, they tug forcefully on the patellar tendon, pulling your kneecap (patella) tight against your thigh bone (femur). Over thousands of steps down a mountain, that constant compression creates deep friction and inflammation behind the kneecap.
3. Hiker’s Knee vs. Patellar Tendonitis
Downhill knee pain usually manifests in one of two ways:
- Patellofemoral Pain Syndrome (PFPS / “Hiker’s Knee”): This is a dull, aching pain felt behind, around, or underneath the kneecap. It’s caused by the kneecap rubbing unevenly against the femoral groove during repetitive bending under heavy load.
- Patellar Tendonitis: This is a sharper, localized pain felt just below the kneecap, right where the tendon attaches to your shinbone. It’s an inflammatory reaction from the constant tugging of overloaded quad muscles.
4. The Hip and Ankle Connection (The Kinetic Chain)
Your knee is essentially a simple hinge caught in the middle between two complex joints: your hip and your ankle. If either of those joints isn’t doing its job properly, the knee gets caught in the crossfire.
- Weak Glutes (Hips): If your gluteus medius (the muscle on the side of your hip) is weak or fatigued, your knee will collapse slightly inward (known as valgus cave) every time you step down. This causes the kneecap to track sideways out of its natural groove, worsening friction.
- Stiff Ankles or Poor Footwear: If your ankles lack flexibility, or if your boots don’t allow natural ankle flexion, your body compensates by twisting through the knee. Similarly, if your heel is sloshing around inside an improperly fitted boot (a common issue we explore in our guide, why do my heels hurt in hiking boots) your gait shifts unnaturally, sending violent shockwaves straight into your patellar tendon.
Now, to be fair, understanding the physics of eccentric load is great when you’re sitting at home in an armchair, but it doesn’t do you much good when you’re halfway down a mountain path and every step feels like a punishment.
The good news is that you don’t have to just grin and bear it. Over years of testing (and a fair amount of trial and error on my part), I’ve found four immediate, high-impact trail adjustments that act like a mechanical override for your joints.
On-Trail Fixes | How to Save Your Knees Mid-Hike
You don’t need to cut your hike short or suffer through every downward step just because your joints start aching.
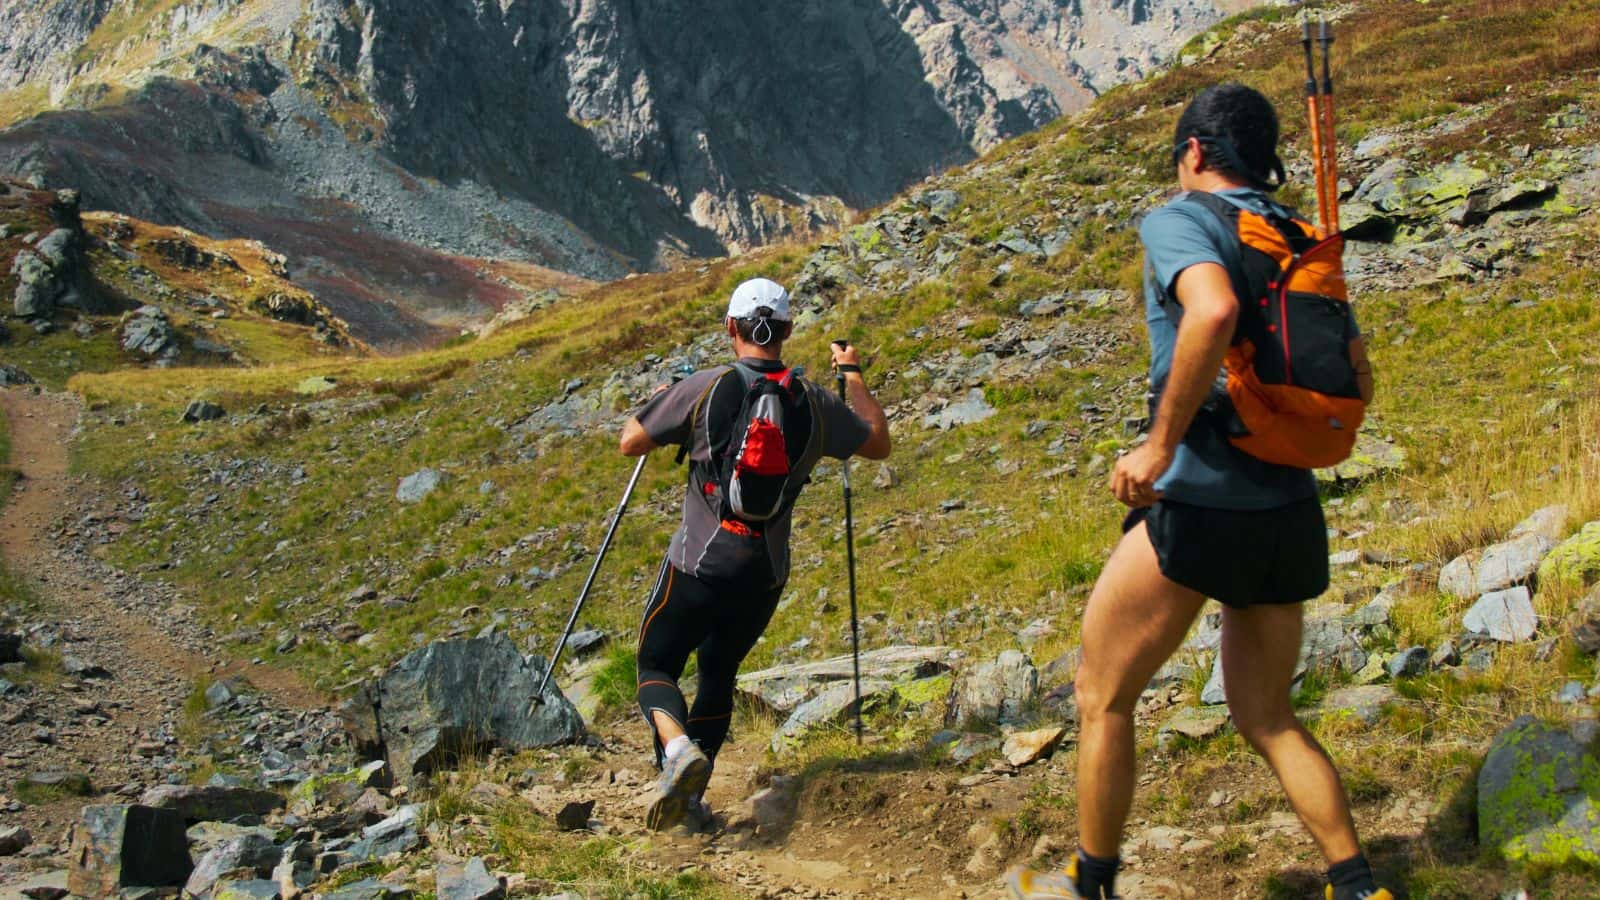
By making a few immediate mechanical tweaks to how you walk and distribute weight on the descent, you can drastically take the pressure off your kneecaps mid-trail.
1. The Trekking Pole Calibration Hack
If you carry trekking poles but only use them at a fixed length, you’re missing out on their biggest superpower. Most hikers keep their poles the same length for the entire loop, but descending requires a quick recalibration.
Before you start heading down, stop and lengthen both poles by 5 to 10 centimeters (2 to 4 inches).
When walking down a steep slope, the ground drops away from you. If your poles are too short, you have to lean forward and hunch over your knees to plant them. Lengthening your poles allows you to plant the tips further down the trail before you step, transferring a massive percentage of your body weight through your shoulders, arms, and core rather than your patellar tendon.
Pro Tip: Plant your poles slightly ahead of your body, let your upper body absorb the initial descent, and then step down. It takes about 30 seconds of practice to get the rhythm, but your quads will instantly thank you.
2. Ditch the Long Stride (Keep “Soft Knees”)
When we get tired near the end of a long hike, our natural instinct is to take big, long strides to get down the mountain faster. It feels like you’re covering more ground, but it’s actually the worst thing you can do for your joints.
A long downhill stride forces you to land heavily on your back heel with a completely straight leg. When your knee locks out at impact, there is zero flex to absorb shock – meaning the entire impact force shoots straight up through your kneecap, hips, and lower back (it’s no coincidence that knee pain hiking downhill so often goes hand-in-hand with back pain).
Instead, shorten your stride dramatically:
- Take short, quick, springy steps. Think “quick feet” like a runner navigating a technical section.
- Keep your knees slightly bent at all times (“soft knees”). Imagine your legs are coiled shock absorbers on a mountain bike.
- Land on your midfoot or forefoot, keeping your centre of gravity directly over your feet rather than leaning back on your heels.
3. The Switchback (Zig-Zag) Method
If you’re on a wide, steep trail without a defined narrow track, never walk straight down the fall line if your knees are starting to ache. Walking in a straight line down a 30-degree incline subjects your joints to maximum force.
Instead, zig-zag across the width of the trail.
By cutting diagonally across the slope at a slight angle, turning, and cutting back the other way, you artificially decrease the angle of the incline. Turning a steep descent into two manageable angles instantly cuts the shock load on your quads.
On very steep drop-offs or rocky steps, don’t be afraid to side-step. Turning your body 90 degrees and stepping sideways down a steep drop allows your stronger lateral hip muscles to share the load, giving your overtaxed quads a well-deserved breather.
4. Re-Tie Your Boots (The “Heel Lock” Lacing Technique)
You can have the best movement technique in the world, but if your feet are moving around inside your footwear, your knees are going to suffer.
Before you start your descent, take two minutes to sit on a rock and re-tie your laces. As you walk downhill, gravity pushes your entire foot forward into the toe box. If your heel lifts or slides forward, your brain subconsciously tweaks your gait to stop your toes from bashing against the front of the boot, which is a major cause of both knee strain and painful foot issues.
Use the Heel Lock (or Runner’s Loop) lacing method:
- Kick your heel back into the pocket of the boot.
- Thread your laces through the top eyelets to create a small loop on each side.
- Cross the laces over, thread them through the opposite loops, and pull downward.
This locks your heel securely into the back of the boot, stopping forward foot-slide and keeping your ankle, knee, and foot tracking in a straight, stable line.
Fixing your movement on the trail provides immediate relief, and hopefully these tips help, but if you want to eliminate downhill joint pain for good, the real long-term work happens off the mountain.
Off-Trail Prevention | Conditioning & Gear Secrets
While quick trail adjustments are absolute lifesavers mid-hike, treating the root cause requires a little preparation at home. If you only address the symptoms when you’re already on the mountain, you’re constantly playing defense.
By building targeted strength and dialing in your gear setup between trips, you can train your joints to handle downhill forces effortlessly – turning what used to be a painful slog into the easiest part of your day.
Here’s how to bulletproof your lower body off the trail so your knees are ready for whatever the terrain throws at them.
1. Target Eccentric Quad & Glute Strength
Since downhill hiking relies heavily on eccentric muscle strength, standard squats and leg presses aren’t quite enough. You need to train your muscles to control movement while lengthening.
- Eccentric Step-Downs: Stand on a low box or bottom step of a staircase. Slowly lower one foot toward the floor over a 3- to 4-second count, keeping all your weight on the standing leg. Touch your heel gently to the ground without resting, then push back up. This directly mirrors the motion of stepping down a steep trail.
- Spanish Squats: Using a heavy resistance band anchored behind your knees, perform shallow squats. The backward pull of the band forces your quads to engage constantly without stressing the kneecap, building bulletproof tendon durability.
- Glute Bridges & Clamshells: Weak glutes cause your knees to collapse inward on descents. Strengthening the gluteus medius ensures your kneecap tracks straight and true with every single step.
2. Upgrade Your Footwear & Cushioning Setup
Your boots or shoes are your first line of defense against trail impact. If your midsole cushioning is worn out or flat, that shock goes straight to your knee cartilage.
- Footwear Selection: If you’re constantly dealing with joint impact, consider whether you need the rigid structure of traditional boots or the shock-absorbing foam of modern trail runners.
- Insoles & Shock-Absorbing Socks: Upgrading to supportive aftermarket insoles with deep heel cups can keep your foot from pronating (rolling inward), which keeps your knee aligned. Pair them with thick, dampening socks to add another layer of padding. If you’ve ever wondered if high-end trail footwear tech is worth it, take a look at our breakdown on whether hiking socks make a difference.
- Drying & Maintenance: Keep your footwear performing at its best. Wet, waterlogged foam breaks down faster and loses its shock absorption capabilities over time, so make sure you know how to properly dry your hiking boots after a rainy trek to preserve their cushioning.
3. Trim the Weight in Your Pack
It sounds simple, but every extra pound in your pack acts as a heavy lever pushing down on your knees during a descent. If your pack weighs 30 pounds and you’re stepping down a incline that multiplies force by 4x, in theory that’s an extra 120 pounds of impact force hitting your kneecap on every single step.
Trimming even 5 pounds out of your pack makes a dramatic, noticeable difference in joint fatigue by the end of the afternoon. Take a close look at your essential gear list and strip out everything you don’t need using our guide on lightweight camping – which follows the same basic principles.
Once you’ve got your conditioning and gear dialed in, you’ll likely still have a few lingering questions about how to handle specific situations on the trail.
Quick Post-Hike Recovery Checklist
What you do the moment you unlace your boots can also make the difference between waking up ready for the week or hobbling down the hallway tomorrow morning.
As soon as you reach the trailhead or get home, go through this simple recovery ritual to keep inflammation down and kickstart repair:
1. The Immediate Trailhead Reset (At the Car)
- Change out of your boots: Swap heavy hiking footwear for soft sandals or comfortable sneakers immediately. Giving your feet space to spread out takes instant tension off your ankles and lower legs.
- Get fluid and electrolytes back in: Sip water paired with electrolytes right away to flush out metabolic waste and keep muscle cramps from locking up your quads and calves.
- Elevate on the drive home: If you’re a passenger, put your feet up on the dash (safely!) or prop them up on a bag to encourage venous return and cut down on fluid pooling in your lower legs.
2. The Home Recovery Protocol
- Apply targeted cold: Ice your knees for 15–20 minutes using a gel pack or a bag of frozen peas wrapped in a thin towel. This blunts immediate inflammation around the patellar tendon and inner joint.
- Compress gently: Pull on a lightweight compression sleeve or wrap an elastic bandage loosely around the joint to limit late-day swelling without cutting off circulation.
- Do 5 minutes of low-intensity mobility: Avoid aggressive stretching when your muscles are cold and fatigued. Stick to gentle ankle circles, light quad drains (lying on your back with legs up against a wall), or easy hip openers to release tension surrounding the knee.
- Refuel with anti-inflammatory foods: Skip the heavy, processed fast food on the drive back and prioritise real hydration, lean protein, and omega-3s or antioxidants (like berries, leafy greens, or tart cherry juice) to speed up tissue repair overnight.
When to See a Doctor
While most trail-induced knee soreness comes down to temporary fatigue or mild inflammation, it’s essential to know when a quick rest won’t cut it.
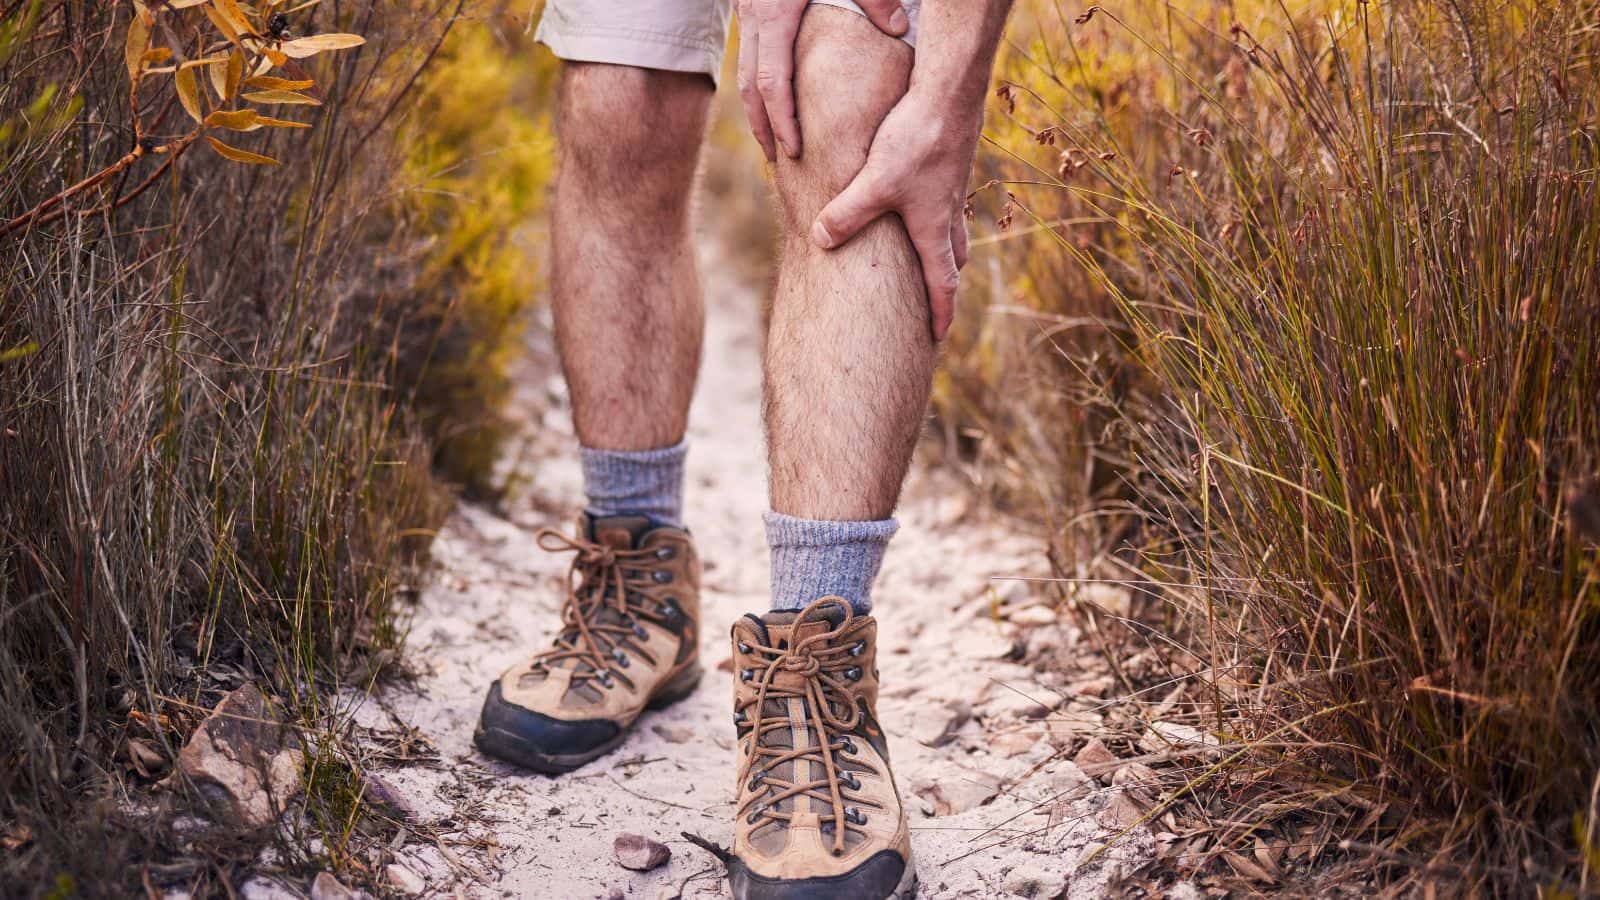
Pushing through true structural damage can turn a temporary setback into a long-term injury.
Seek Immediate Attention If:
- You can’t bear weight: Shifting your weight onto the leg causes sharp, severe pain, or the knee simply collapses under you.
- You heard a “pop”: A sudden snapping sound on the trail followed by quick swelling often points to a ligament sprain or tear (like an ACL or MCL).
- The joint is locked or deformed: Your knee won’t fully flex or extend, feels mechanically stuck, or looks visibly altered compared to your other knee.
- Signs of severe inflammation or infection: Significant redness, intense heat radiating from the joint, or an accompanying fever.
Schedule a Checkup If:
- The pain lasts past 48 hours: Dull aches that don’t lessen after a couple of days of solid rest, ice, and elevation warrant a check-up.
- Persistent instability: You feel a recurring “wobble” or lack of support, even on flat, easy terrain.
- It disrupts daily life or sleep: Pain that wakes you during the night or makes basic tasks like walking downstairs a struggle should be evaluated by a physical therapist or orthopedist.
Disclaimer: This guide is for educational purposes and doesn’t replace personalised medical advice. Always listen to your body and consult a healthcare professional for specific joint concerns.
Frequently Asked Questions
Should I wear a knee brace or sleeve when hiking downhill?
Yes, a knee brace or compressive sleeve can provide significant relief, especially on long descents. Compression sleeves help increase blood flow, reduce localized swelling, and improve proprioception (your brain’s awareness of joint positioning). If you deal with lateral stability issues or tracking pain behind the kneecap, a patellar tracking brace with a gel ring or side stabilizers can keep the kneecap aligned properly in its groove. However, rely on braces as a helpful tool alongside long-term joint strengthening rather than a permanent replacement for quad and glute conditioning.
Why do my knees hurt going downhill, but not uphill?
When walking uphill, your muscles contract concentrically to push your weight against gravity, which places very low impact stress on your knee joints. When descending, your quadriceps must perform eccentric contractions – lengthening while under heavy tension to act as your body’s braking system. Combined with gravity, downhill steps multiply the force on your kneecaps by 3 to 8 times your body weight. This concentrated compression forces the kneecap against the femur, irritating cartilage and tendons even though the ascent felt completely painless.
How do I stop my toes from smashing into the front of my boots on descents?
Toe jamming is usually caused by your foot sliding forward inside your footwear as gravity pulls you down. You can fix this by using a Heel Lock (Runner’s Loop) lacing technique before you begin your descent. This locks your heel firmly into the back heel cup of the boot, preventing forward foot movement. Making sure your footwear has adequate toe box room and pairing it with proper trail socks can also help keep your feet stable. If your boots are simply too large overall, try implementing these proven fixes for hiking boots that are too big to secure your fit.
Is it better to wear hiking boots or trail runners for knee pain?
It depends on your specific needs. Trail runners feature thick, flexible EVA or TPU foam midsoles that absorb impact shock far better than stiff-soled boots, reducing the force transmitted directly into your knees. On the other hand, structured hiking boots offer greater ankle support, which can prevent foot rolling and reduce rotational strain on the knee joint. If shock absorption is your primary goal, cushioned trail runners are often the better option. For a complete breakdown of which footwear fits your trail style best, check out our guide on hiking boots vs. trail runners.
How long does it take for “Hiker’s Knee” to heal?
Mild patellofemoral pain or minor quad strain usually settles down within 24 to 48 hours with proper rest, elevation, and ice. However, if the patellar tendon is inflamed from chronic overuse, recovery can take 2 to 6 weeks of dedicated rest and eccentric exercise. For comprehensive guidance on managing joint strain, exercise recovery, and orthopedic health, consult the American Academy of Orthopaedic Surgeons (AAOS). If sharp pain persists beyond two days or prevents you from bearing weight, consult a physical therapist or medical specialist to evaluate for structural damage.
What other trail habits cause unexpected foot or joint pain?
Movement friction, poor sock choices, and inadequate moisture management frequently contribute to altered walking mechanics on the trail. When your feet feel hot or blistered, you naturally shift your gait to compensate, which throws off knee alignment. Learn how to stop blisters when hiking early, and manage excess moisture by understanding why your feet sweat when hiking so you can maintain a clean, stable stride from summit to trailhead.
Final Thoughts | Protect Your Knees, Keep Exploring
Downhill hiking doesn’t have to mean suffering through every descent or dreading the return journey from a great summit. Your knees take a beating because they’re doing the heavy lifting to keep you safe and in control, but with the right adjustments, you can take that strain off your joints.
By shortening your stride, leaning into trekking poles, and giving your quads and glutes the support they need, you’ll transform the return hike from a painful grind into a smooth, controlled experience. Don’t feel like you have to change everything at once, either. Start with one or two small tweaks on your next hike (like trying a heel-lock lace or bringing a pair of poles) and pay attention to how your body responds.
With a little preparation and intentional movement, you can keep your joints happy, hike longer, and focus on enjoying the view all the way back to the trailhead.
